Can You Repot Plants in Winter? UK Cold Weather Guide
This page contains affiliate links. As an Amazon Associate we earn from qualifying purchases — this does not affect the price you pay.
This guide is part of our UK Indoor Plant Care: Surviving Central Heating & Low Light series — practical advice for keeping houseplants alive in British homes.
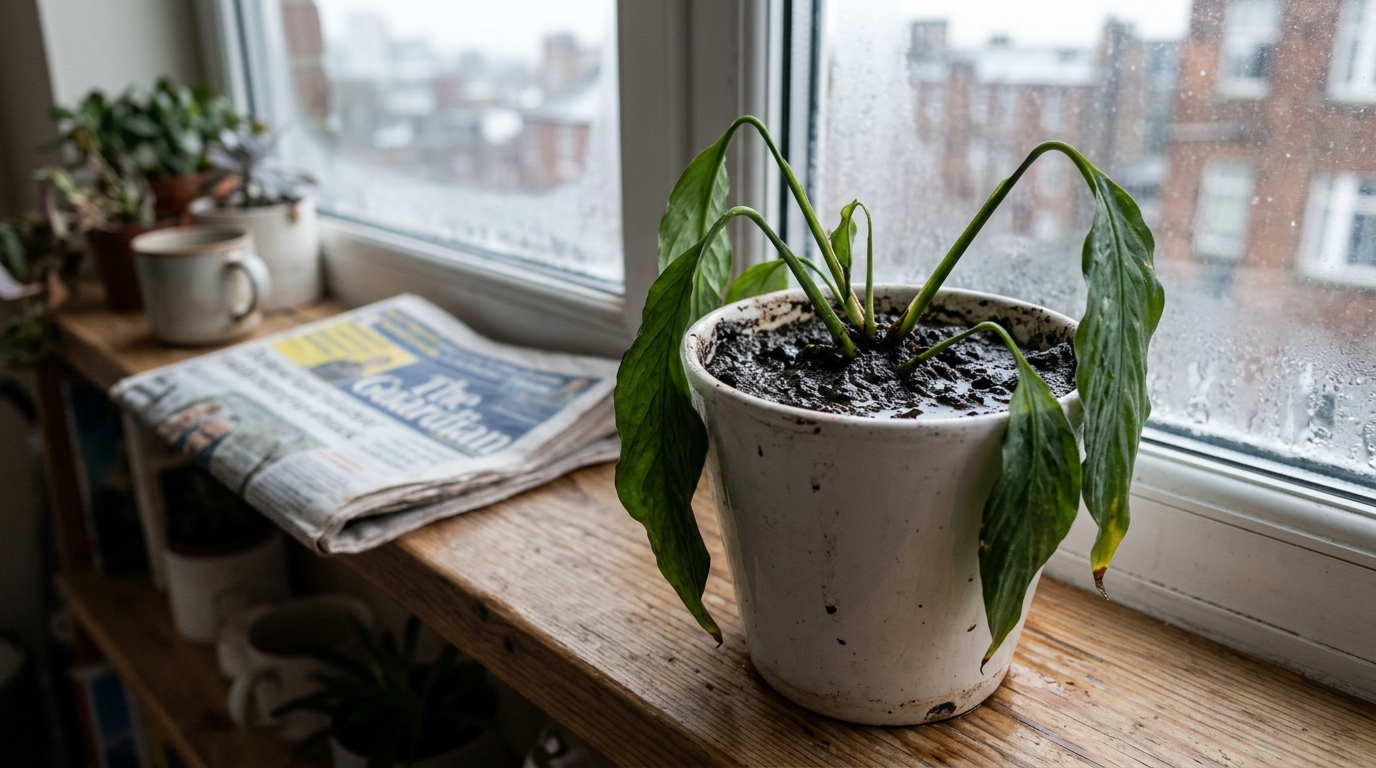
You’ve spotted a nasty circle of roots choking the base of your monstera, the leaves are turning a sad yellow, and it’s December. The general rule is to never repot in winter, but when a plant looks like it’s about to give up entirely, waiting for spring feels like a death sentence. The truth is, it isn’t the act of repotting that kills a houseplant in January—it’s the cold, dark, and damp conditions you put it back into.
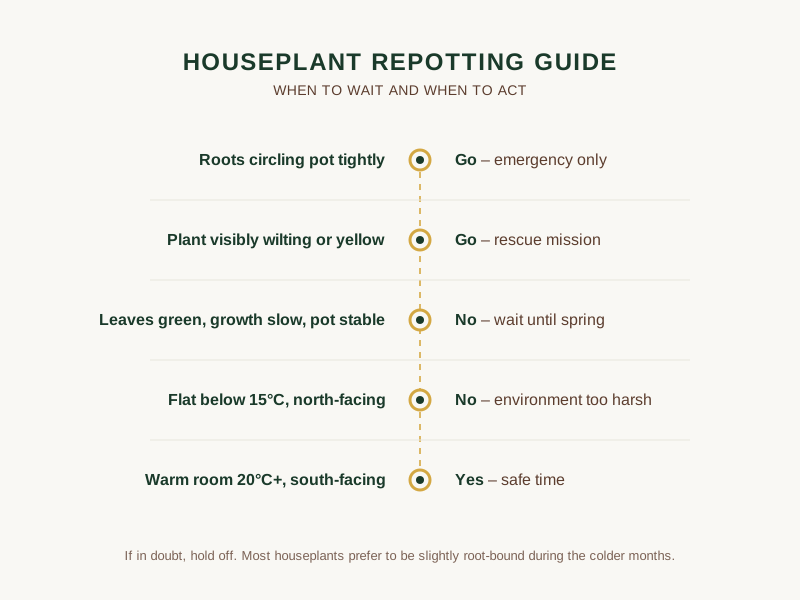
Quick reference: See the infographic below for a visual summary of the key points, or download the data table for full details.
Why Is Winter Repotting Risky in the UK?
Repotting in winter is risky because most houseplants enter a semi-dormant state and cannot easily repair root damage in cold, low-light conditions. When you disturb the root system and pack it into fresh, moisture-retaining soil, the plant simply isn’t drinking enough water to dry the pot out. In a typical British home, this creates a lethal combination: the central heating warms the wet soil, while the short, gloomy daylight hours keep the foliage completely dormant. This mismatch means the roots sit in stagnant water and quickly succumb to root rot. Because of this, winter repotting should only ever be treated as an emergency rescue mission, rather than routine maintenance.
In the colder months, tropical plants deliberately slow down photosynthesis and transpiration to conserve energy until the days get longer again. The reduced light in a typical north-facing UK flat means they’re drinking far less. When you disturb the root ball, any excess moisture lingers because the plant isn’t actively pulling water up through its leaves. Meanwhile, radiators warm the floor and the roots to around 18°C, but the leaves stay in a chilly, dim room. This false spring can trick the roots into waking up while the foliage stays dormant, causing the soft, winter-brittle roots to drown.
The Royal Horticultural Society (RHS) notes that dormant plants have a significantly reduced capacity to repair root damage. In a UK flat, the combination of hard tap water deposits, dry indoor air, and low light makes that repair window painfully thin.
It’s easy to muck this up with a peace lily in November — swap it into a fresh pot, water it generously, and put it on the radiator-adjacent sill, and within 48 hours the leaves turn black and mushy—the roots were fine initially, but the leaves were starved of light while the soil stayed hopelessly soggy.
The “Go/No‑Go” Decision Framework
Should you repot today, or wait? Use this checklist to decide.
| Situation | Verdict |
|---|---|
| Roots are circling the pot so tightly they’re strangling the plant (you can see them when you loosen the top soil) | Go – emergency only |
| The plant is visibly wilting, yellow, or the pot is cracked | Go – rescue mission |
| Leaves are still green, growth is slow but steady, and the pot feels stable | No – wait until spring |
| Your flat is below 15°C, the window is north-facing, and you rely on radiators for heat | No – the environment is too harsh |
| You have a warm, south-facing room with ambient temperature 20°C+ and a bright spot | Yes – safe time |
How to use the checklist:
- Inspect the root ball for obvious signs of being pot-bound.
- Rate your room temperature and light level.
- Match your scenario to the table above.
If you tick the “Go” boxes, you’re clear to move forward. Otherwise, hold off and plan a proper spring repot.
People frequently message us through the contact page to say they successfully repotted a pothos in January. But when we look at it, their flat is heated to a toasty 22°C and the plant sits on a south-facing windowsill. The environment makes all the difference.
How to Repot Safely in Winter (The Protocol)
Use a pot with a proper drainage hole. We like the LE TAUCI Ceramic Plant Pots with Drainage (paid link) — the built-in mesh pad stops compost leaking out while still letting water escape freely.
View LE TAUCI Ceramic Plant Pots with Drainage on Amazon → (paid link)
When the decision framework says “go”, follow these steps. It’s not rocket science, just a belt-and-braces routine for the cold months to minimise shock.
- Pick the right size pot. Move up only one or two increments (roughly 2-4 cm wider). A huge jump forces the plant to fill extra soil it can’t use, massively increasing the risk of waterlogged roots.
- Choose a well-draining mix. Many swear by the Soil Ninja House Plant Potting Soil (paid link)—peat-free coir, perlite and worm castings, enough moisture without becoming a soggy mess. If you’re watching the budget, the Westland Houseplant Potting Mix (paid link) is a decent 4 L alternative, though it can feel a little heavy for larger aroids.
- Prep the new pot. Add a layer of coarse grit or broken terracotta at the bottom to stop the drainage holes getting blocked by wet compost.
- Gently loosen the root ball. Use your fingers, not a knife, as winter roots are incredibly brittle. If you see a few dead or mushy bits, trim them with clean scissors, but avoid stripping away healthy roots.
- Position the plant at the same depth. The top of the root ball should sit just below the rim; you’ll add soil around it later.
- Backfill with the chosen mix. Firm it lightly with your palm. No need to compact it like a brick wall—you want a bit of air space for the roots to breathe.
- Water lightly after potting. Pour enough to dampen the new soil, then let the excess drain away entirely. This settles the mix without drowning the roots.
View Westland Houseplant Potting Mix on Amazon → (paid link)
Check Soil Ninja House Plant Potting Soil price → (paid link)
The Post‑Repot Watering Trap
Even if you follow the protocol spot on, the biggest mistake most of us make after a winter repot is overwatering. With low light, the plant’s drink-up rate drops dramatically.
Horticultural best practice suggests that overwatering in low-light conditions is the primary cause of indoor plant loss during the UK winter. The extra moisture becomes an absolute magnet for fungus gnats, especially when the soil stays damp for days on end.
The rule of thumb: Let the top 3-4 cm of soil dry out completely before the next watering. Stick your finger in—if it feels dry at that depth, it’s safe to give a light drink.
Avoid the sticky spray pitfall. If you use a foliar spray to raise humidity against the dry radiator heat, make sure it doesn’t leave a residue on the leaves. Stagnant moisture on a cold leaf encourages fungal growth.
A common gripe on the main blog is that new growers see a sudden surge of fungus gnats after a winter repot. The culprit is always the same: a damp, low-light environment mixed with the fresh, nutrient-rich soil they just added.
The Bottom Line
Winter repotting isn’t a forbidden act; it’s a calculated risk that you can manage with a bit of common sense. Check the plant’s distress level, assess your flat’s temperature and light, and follow the gentle, low-impact repotting steps. Keep the soil much drier than usual, watch for fungus gnats, and give the plant a warm, bright spot to recover.
If you’re still figuring out how to keep your collection alive through the colder months, learn from the countless mistakes owners make when first starting out. You’ve got this. With a bit of patience and a gentle hand, your monstera will thank you with new leaves come spring.
Related Guides
For a complete overview, see our UK Indoor Plant Care: Surviving Central Heating & Low Light.
Products linked above are ones we recommend based on owner feedback and UK-condition testing.
Note: This guide provides general information only. Always verify specific plant care requirements and consult a qualified professional or official source for advice tailored to your situation.